● Xcode command-line tools 설치
1. 터미널 창을 열어서 xcode 개발자 도구를 설치합니다.
xcode-select --install
Conda 설치
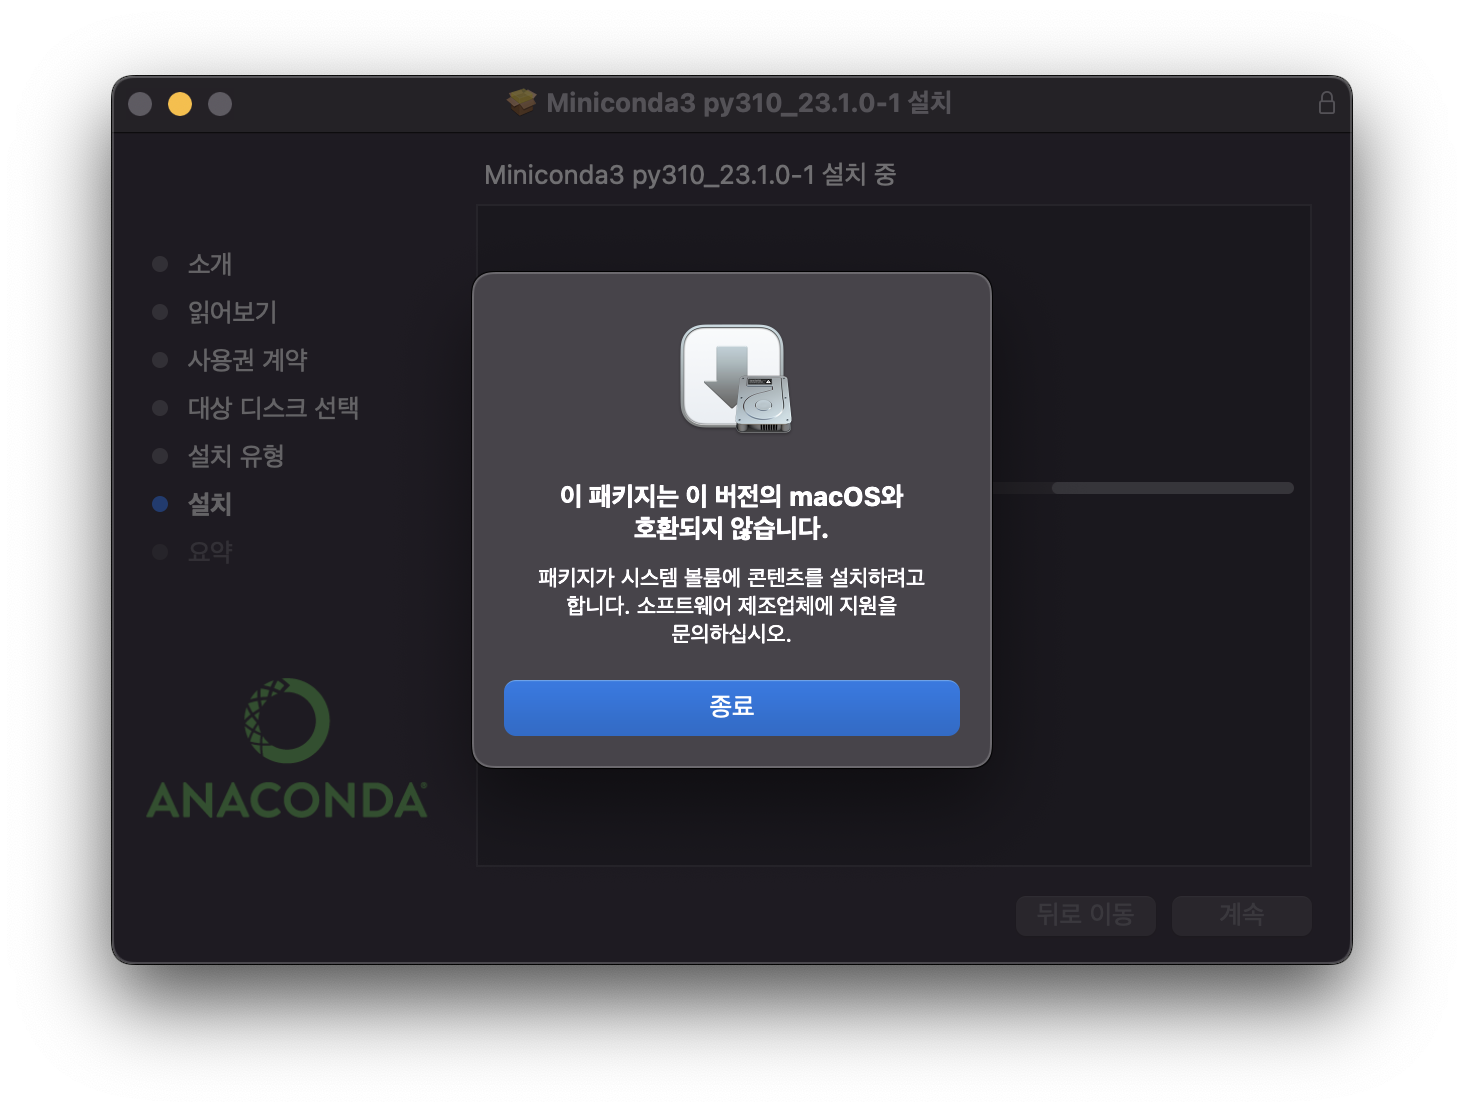
필자의 경우 anaconda&minconda는 아래와 같은 메시지로 설치가 안되서 miniforge를 설치했습니다. anaconda와miniconda가 Apple Silicon의 M1 arm64를 2022년 하반기부터 지원하기 시작했지만 M2는 아직인것 같습니다. 세 가지 중에 설치가 되는 걸로 하시면 됩니다.
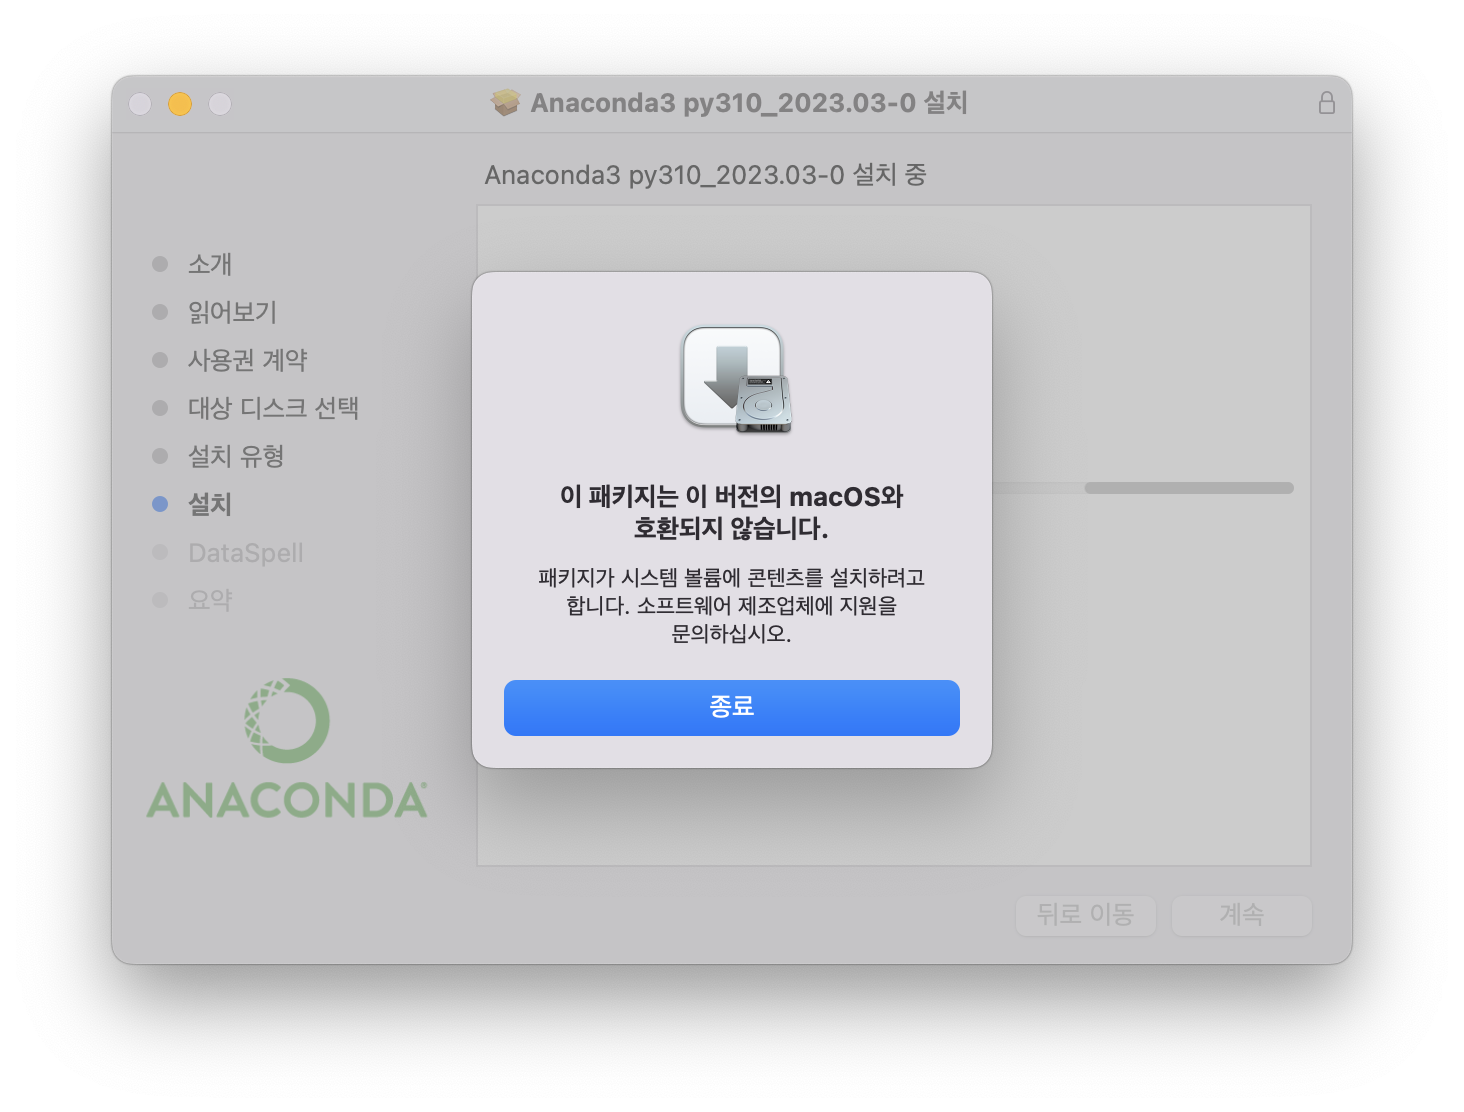
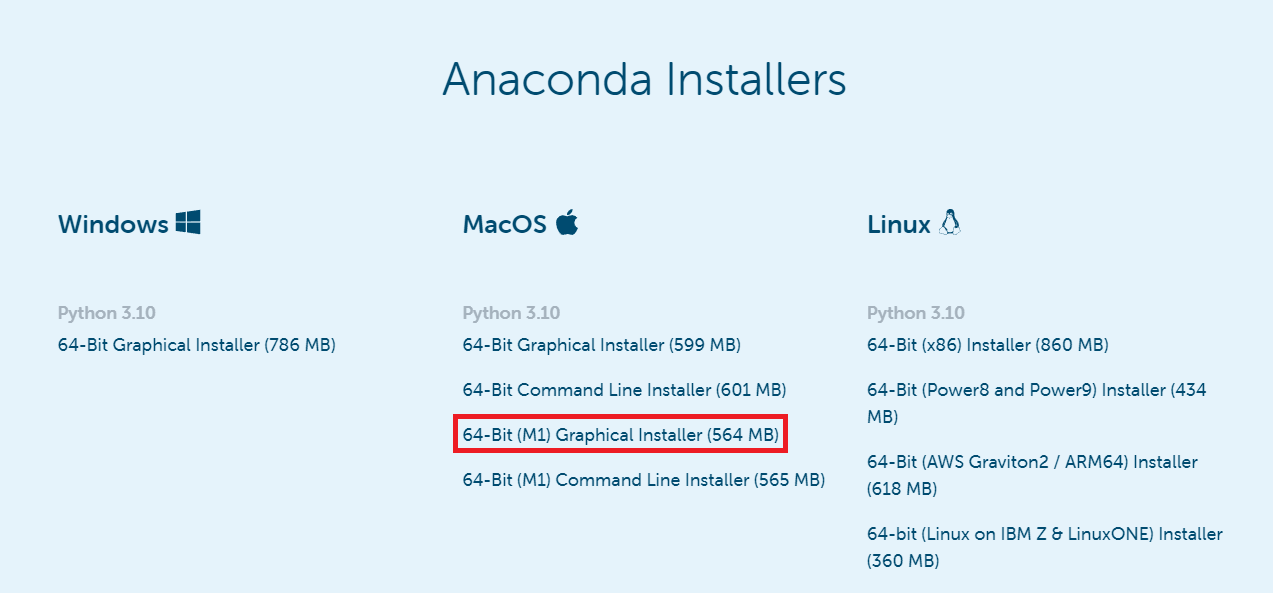
● Anaconda 설치
아래의 링크로 접속하여 설치합니다
https://www.anaconda.com/products/distribution
Anaconda | Anaconda Distribution
Anaconda's open-source Distribution is the easiest way to perform Python/R data science and machine learning on a single machine.
www.anaconda.com
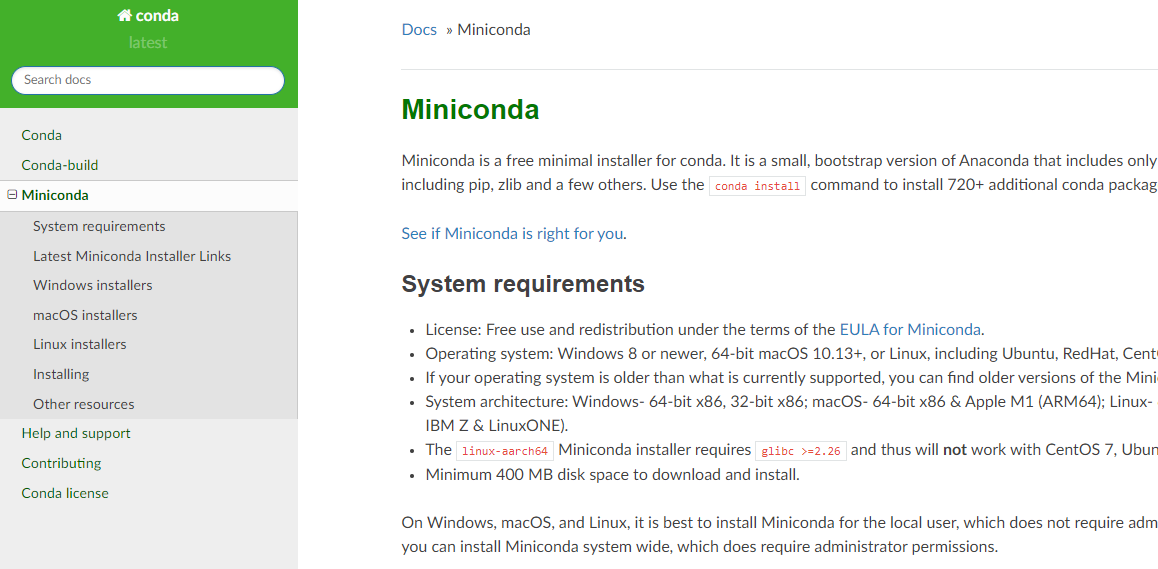
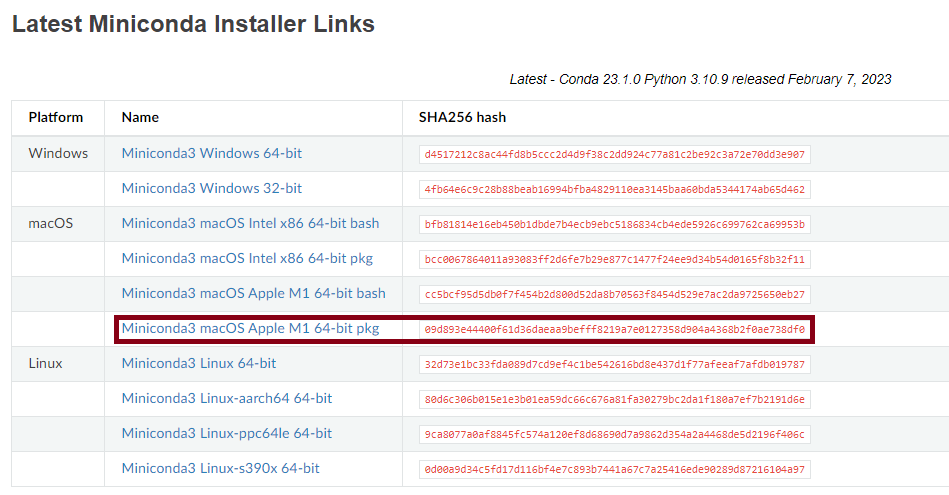
● Miniconda 설치
아래의 링크로 접속하여 설치합니다
https://docs.conda.io/en/latest/miniconda.html
Miniconda — conda documentation
Miniconda is a free minimal installer for conda. It is a small, bootstrap version of Anaconda that includes only conda, Python, the packages they depend on, and a small number of other useful packages, including pip, zlib and a few others. Use the conda in
docs.conda.io
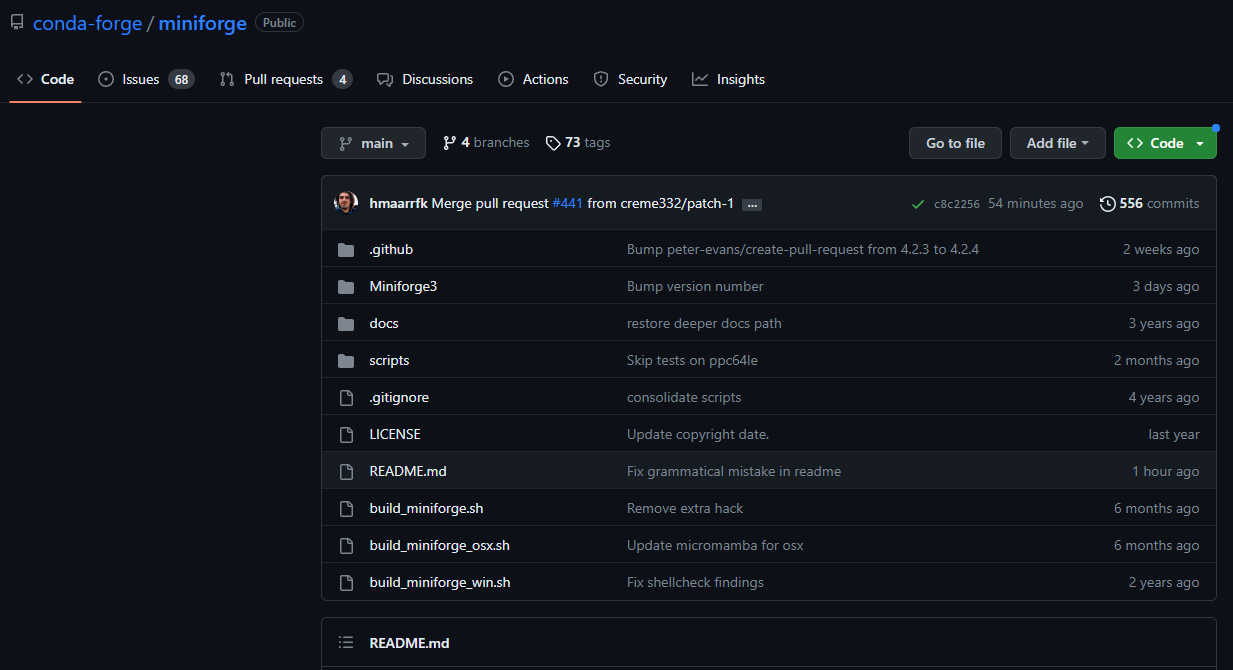
● Miniforge 설치
1. 아래의 링크로 접속하여 설치합니다.
https://github.com/conda-forge/miniforge
GitHub - conda-forge/miniforge: A conda-forge distribution.
A conda-forge distribution. Contribute to conda-forge/miniforge development by creating an account on GitHub.
github.com
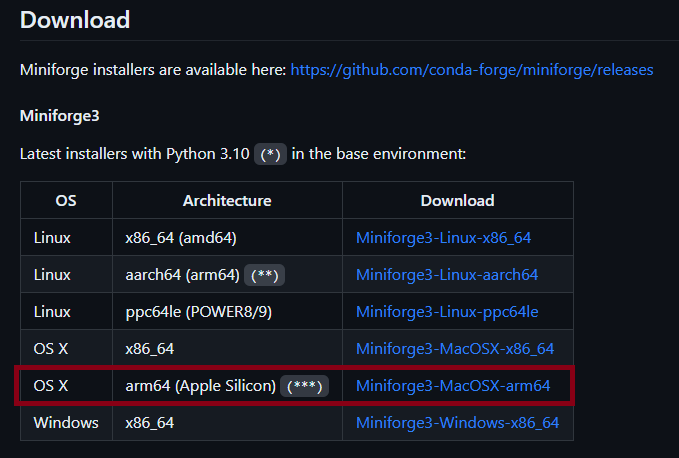
2. 터미널 창을 열어서 설치한 경로로 이동한 후 설치를 진행합니다.
cd Downloads
bash Miniforge3-MacOSX-arm.64.sh
3. 계속 Enter키를 눌러주다가, 라이센스 동의창에서 yes를 입력하고 Enter키를 눌러줍니다.
4. 설치 경로에 대한 질문이 나옵니다. 현재 설치되고 있는 경로에 설치한다면 Enter키를 눌러주고 혹은 자신이 원하는 경로가 있다면 지정 후에 Enter키를 누릅니다.
5. 이 이후부터는 yes를 입력하고 Enter키를 눌러준 다음에 설치를 완료해줍니다.
Conda 설치 후 터미널을 실행할 때 자동으로 conda가 활성화 되는 것이 싫다면 다음과 같이 입력해주면 됩니다.
conda config-set auto_activate_base false
● 가상환경 구축
1. 가상환경을 생성합니다.
conda create -n tf29_py39 python=3.9
activate tf29_py39
2. tensorflow를 설치합니다. 텐서플로우는 정말 예민하기 때문에 호환되는 버전끼리 설치해줘야합니다.
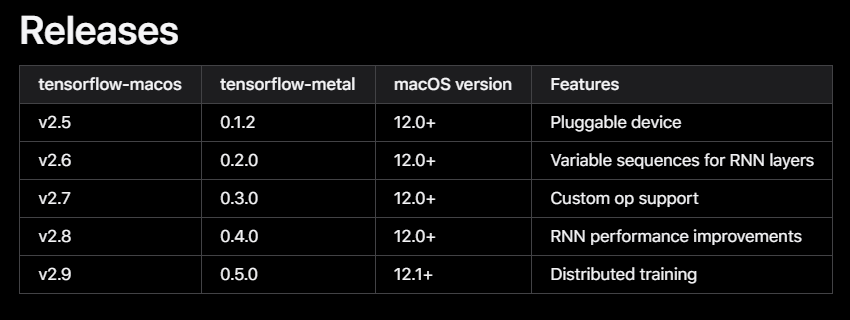
conda install -c apple tensorflow-deps==2.9.0	# Apple채널에서 의존성 설치
pip install tensorflow-macos==2.9.0		# Apple의 macos 전용 tensorflow
pip install tensorflow-metal==0.5.0		# GPU 지원
아래의 링크의 Releases를 확인해주세요.
https://developer.apple.com/metal/tensorflow-plugin/
3. 제대로 작동하는지 확인합니다.
import tensorflow as tf

# Check for tensorflow GPU acess
print("TensorFlow has access to the following devices:", tf.config.list_physical_devices())

# See TensorFlow version
print("TensorFlow version:", tf.__version__)
TensorFlow has access to the following devices: PhysicalDevice(name='/physical_device:CPU:0', device_type='CPU'), PhysicalDevice(name='/physical_device:GPU:0', device_type='GPU')
TensorFlow version: 2.9.0
필자는 이번에 Apple M2 Max MacBook Pro 14인치를 구매했습니다. MacOS는 처음이다보니 적응하는데 몇 일정도 걸렸고, 이후에 딥러닝 개발환경을 셋팅했습니다. 아직 Apple Silicon에선 완벽한 딥러닝 환경을 지원하진 않지만 Tensorflow, 개발환경 셋팅을 위해 여러 글을 참고했는데, 여러 번 실패하며 초기화까지 진행하기도 했습니다ㅠㅠ
정말 힘들었지만 결국 성공했네요... 긴 글 읽어주셔서 감사합니다!
'Programing > AI' 카테고리의 다른 글
| [Windows] 텐서플로우(Tensorflow 2.x) GPU 딥러닝 개발환경 구축 (1) | 2023.04.02 |
|---|---|
| Jupyter notebook "500 : Internal Server Error" 오류 해결 (0) | 2023.04.02 |
| [Windows] 파이참(PyCharm) 및 아나콘다(anaconda) 다운로드(설치), 가상환경 연동하기 (1) | 2023.03.30 |


댓글